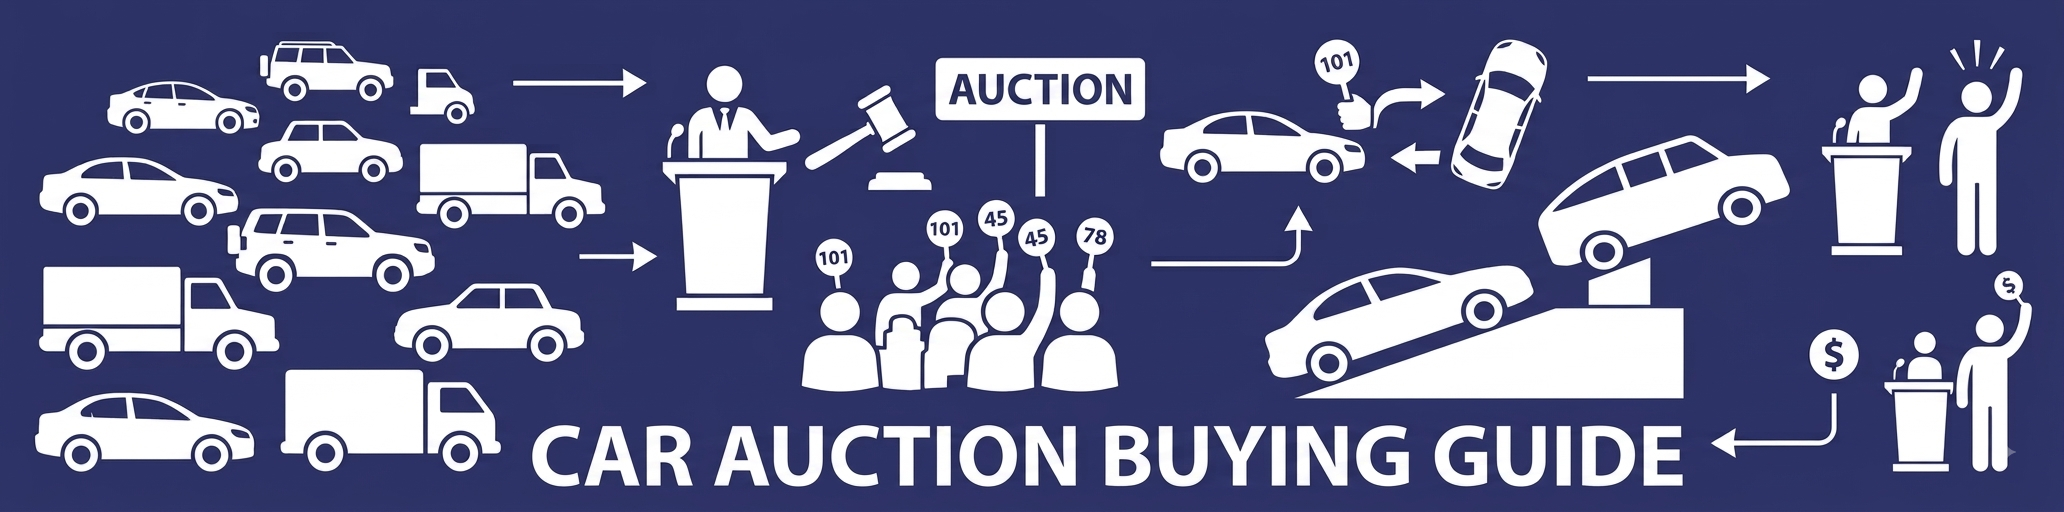
When bidding on vehicles at public auctions, auction houses rarely provide detailed mechanical test drives. Bidders are usually granted a limited window—often called a preview day—to inspect assets visually and mechanically where they sit.
Having a systematic checklist ensures you catch critical flaws, mechanical deficiencies, or expensive hidden costs before making a binding commitment.
Phase 1: Under-the-Hood & Fluids Inspection
The engine bay reveals how well a government fleet unit or seized asset was maintained prior to retirement.
+-------------------------------------------------------------------------------+
|                       ENGINE BAY INSPECTION FLOWCHECK                         |
+-------------------------------------------------------------------------------+
| [Oil Cap / Dipstick]  --> Check for milky texture (Blown Head Gasket)          |
| [Transmission Dipstick]--> Check for burnt odor or dark/black fluid           |
| [Coolant Reservoir]   --> Check for rust, oil film, or low fluid level        |
| [Belts & Hoses]       --> Check for dry rot, cracking, or severe fraying      |
| [Battery & Terminals] --> Check date stamp, heavy corrosion, or missing clamp |
+-------------------------------------------------------------------------------+
Key Fluid Diagnostic Indicators
-
Engine Oil: Pull the dipstick and check under the oil filler cap. A milky brown or "chocolate milk" consistency indicates coolant mixing with oil due to a blown head gasket or cracked engine block.
-
Transmission Fluid: If equipped with a dipstick, fluid should be bright red/pink. A dark brown or burnt-smelling fluid points to slipping clutch packs or neglected fluid intervals.
-
Coolant / Antifreeze: Look inside the expansion tank. Brown sludge or oil slicking on top of the coolant indicates internal seal failures.
Phase 2: Frame, Undercarriage, and Structural Integrity
Structural damage and severe corrosion are the fastest ways to render an auction vehicle unroadworthy or financially unviable.
-
Frame Rails & Subframes: Look underneath the front and rear bumpers to inspect the frame rails. Look for uneven welds, fresh spray paint covering damage, or metal buckling from past collisions.
-
Rust & Corrosion Levels:
-
Surface Rust: Flaking or light orange surface oxidation on exhaust heat shields or suspension arms is normal.
-
Structural Rust (Rot): Flaking, perforated holes, or disintegrating metal on subframe mounting points, rocker panels, or floor pans will fail safety inspections.
-
-
Undercarriage Leaks: Check the ground directly beneath the engine, transmission pan, and rear differential for active puddles or wet fluid accumulation.
Phase 3: Electrical, Interior, and Fleet Equipment
Public fleet vehicles (police cruisers, municipal utility trucks, public works vans) frequently undergo specialized equipment removal before public sale.
| Component | Inspection Focus | Common Fleet Defect / Note |
| Wiring Harnesses | Look under the dashboard, center console, and trunk floor. | "Harness Chopping": Emergency lights and radios are often cut out quickly, leaving bare wires that cause short circuits or battery drain. |
| Dashboard Gauges | Turn the key to "ON" position (Position II) to activate cluster lights. | Confirm Check Engine (MIL), ABS, and Airbag (SRS) warning lamps illuminate briefly during self-test and do not stay permanently lit. |
| Interior Wear & Tear | Check door handles, window switches, seat tracks, and seatbelts. | Heavy wear on steering wheel and driver's seat bolster indicates high fleet usage despite low odometer readings. |
| Glass & Seals | Inspect windshield edges, sunroof channels, and door weatherstripping. | Look for cracks in windshields that obstruct the driver's line of sight or require immediate replacement for safety inspection. |
Phase 4: Exterior Body and Tire Evaluation
Cosmetic flaws affect resale value, but severe panel misalignment points to unrecorded accidents.
-
Panel Gap Consistency: Run your finger along the gaps between the hood and fenders, as well as the doors and quarter panels. Uneven gaps mean panels were replaced or pulled following an accident.
-
Paint Uniformity & Ghosting: Check for overspray on rubber door seals or wheel wells. On retired government units, expect slight "ghosting" where agency vinyl decals were removed.
-
Tire Condition & Matching:
-
Check tread depth using a tire tread depth gauge or coin test.
-
Look at the 4-digit DOT manufacture date code on the tire sidewall (e.g.,
2221means manufactured in the 22nd week of 2021). Tires older than 6–7 years should be replaced regardless of remaining tread. -
Check for uneven wear along the inner or outer tread edge, which signals bad wheel alignment or worn suspension ball joints/struts.
Quick Reference Preview Tool: The 5-Minute Rule
If you only have 5 minutes per vehicle on auction preview day, prioritize this condensed order:
-
Scan the VIN: Ensure VIN tags match on the dash, driver's door jamb, and catalog paperwork.
-
Check Oil Cap: Rule out blown head gaskets immediately.
-
Check Frame & Leaks: Look under the vehicle for rust rot or frame bends.
-
Turn Key to IGN (On): Verify cluster mileage/hours and check warning lights.
-
Inspect Tires & Brakes: Estimate immediate tire/brake replacement costs to factor into your bidding ceiling.
